


AI Repair and Expansion Process
Date: 2024-12-15 Categories: AI-generated imagery
Table of Contents[Hide]
Preface
The model used in this process is the Flux_Fill model, currently the most powerful open-source model for redrawing and image expansion, with 120E parameters, and can be deployed locally.
You can first check the Feishu document to get the basic process, shared information, and effect demonstrations.

ComfyUI Installation Method
- clip:https://huggingface.co/comfyanonymous/flux_text_encoders/tree/main
- vae:https://huggingface.co/black-forest-labs/FLUX.1-schnell/blob/main/ae.safetensors
- Fill:https://huggingface.co/black-forest-labs/FLUX.1-Fill-dev/tree/main
- T8 Quantized Fill:https://huggingface.co/t8star
- FluxExt-MZ:https://github.com/MinusZoneAI/ComfyUI-FluxExt-MZ
- RMBG 2.0:https://github.com/gorillaframeai/GF_nodes
- BEN:https://github.com/DoctorDiffusion/ComfyUI-BEN
- Inspyrenet:https://github.com/john-mnz/ComfyUI-Inspyrenet-Rembg
- BiRefnet v2:https://github.com/ZhengPeng7/BiRefNet

Effect Display
Redrawing Effect ⬇
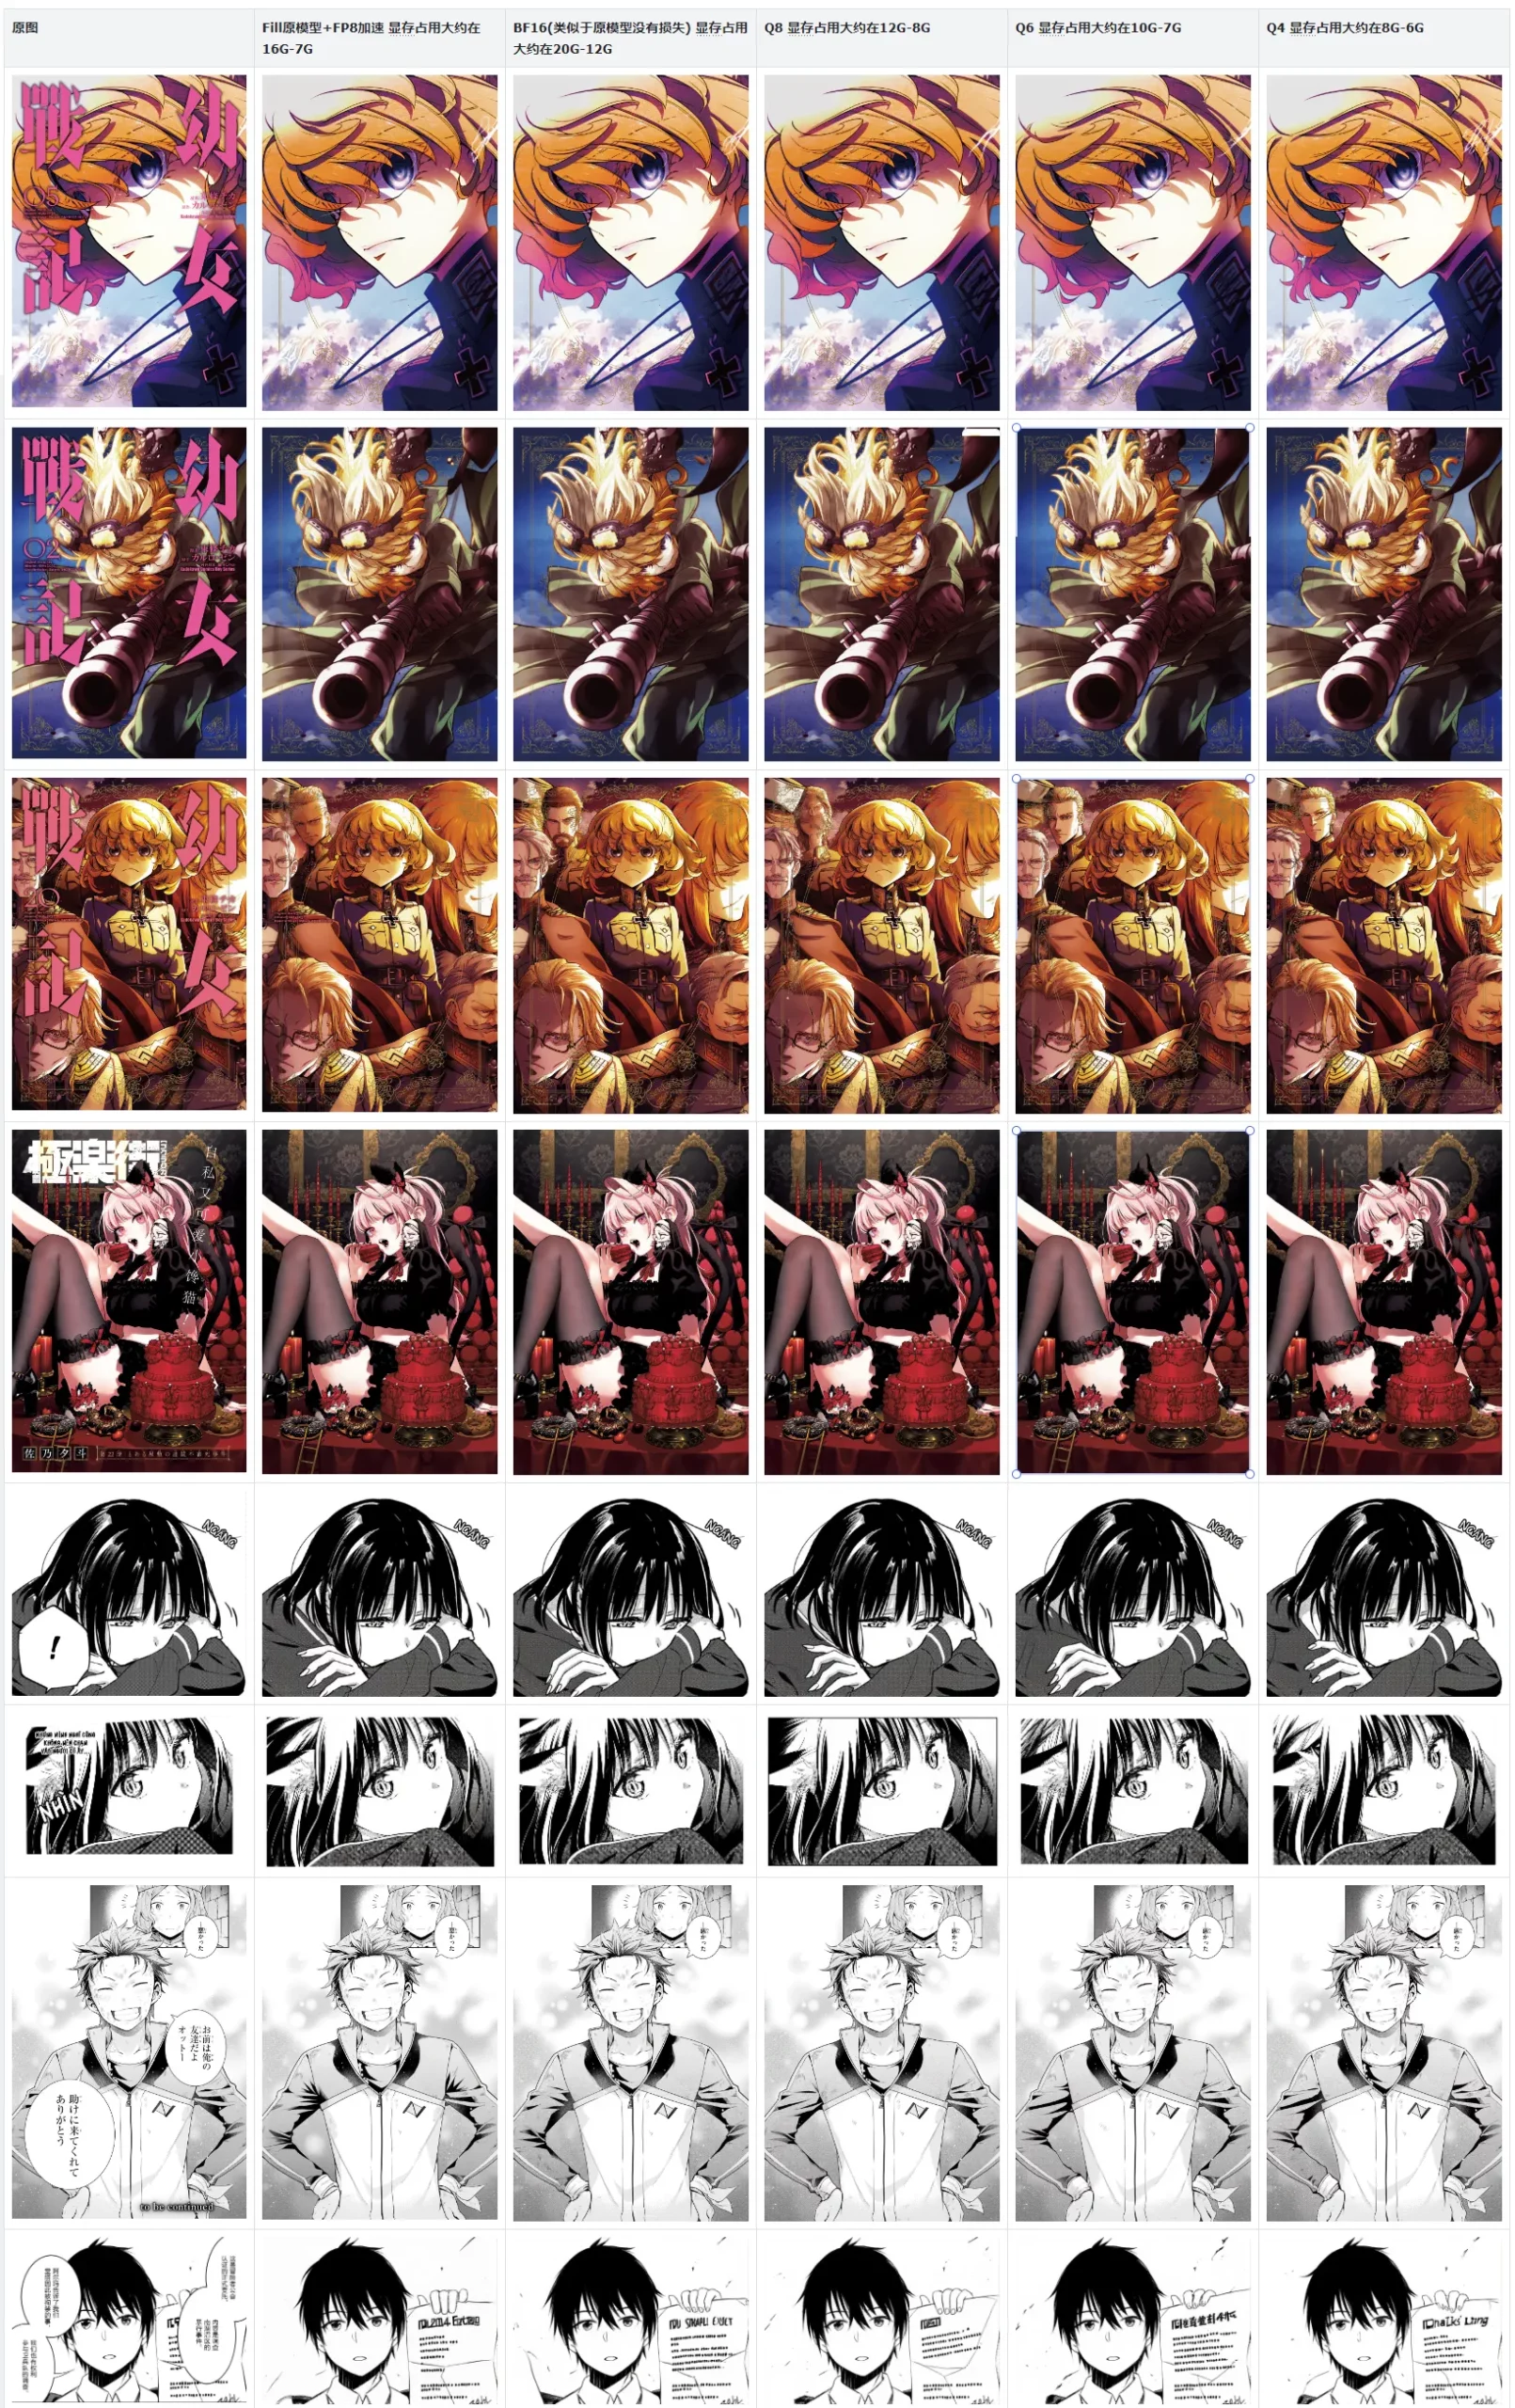
Image Expansion Effect ⬇
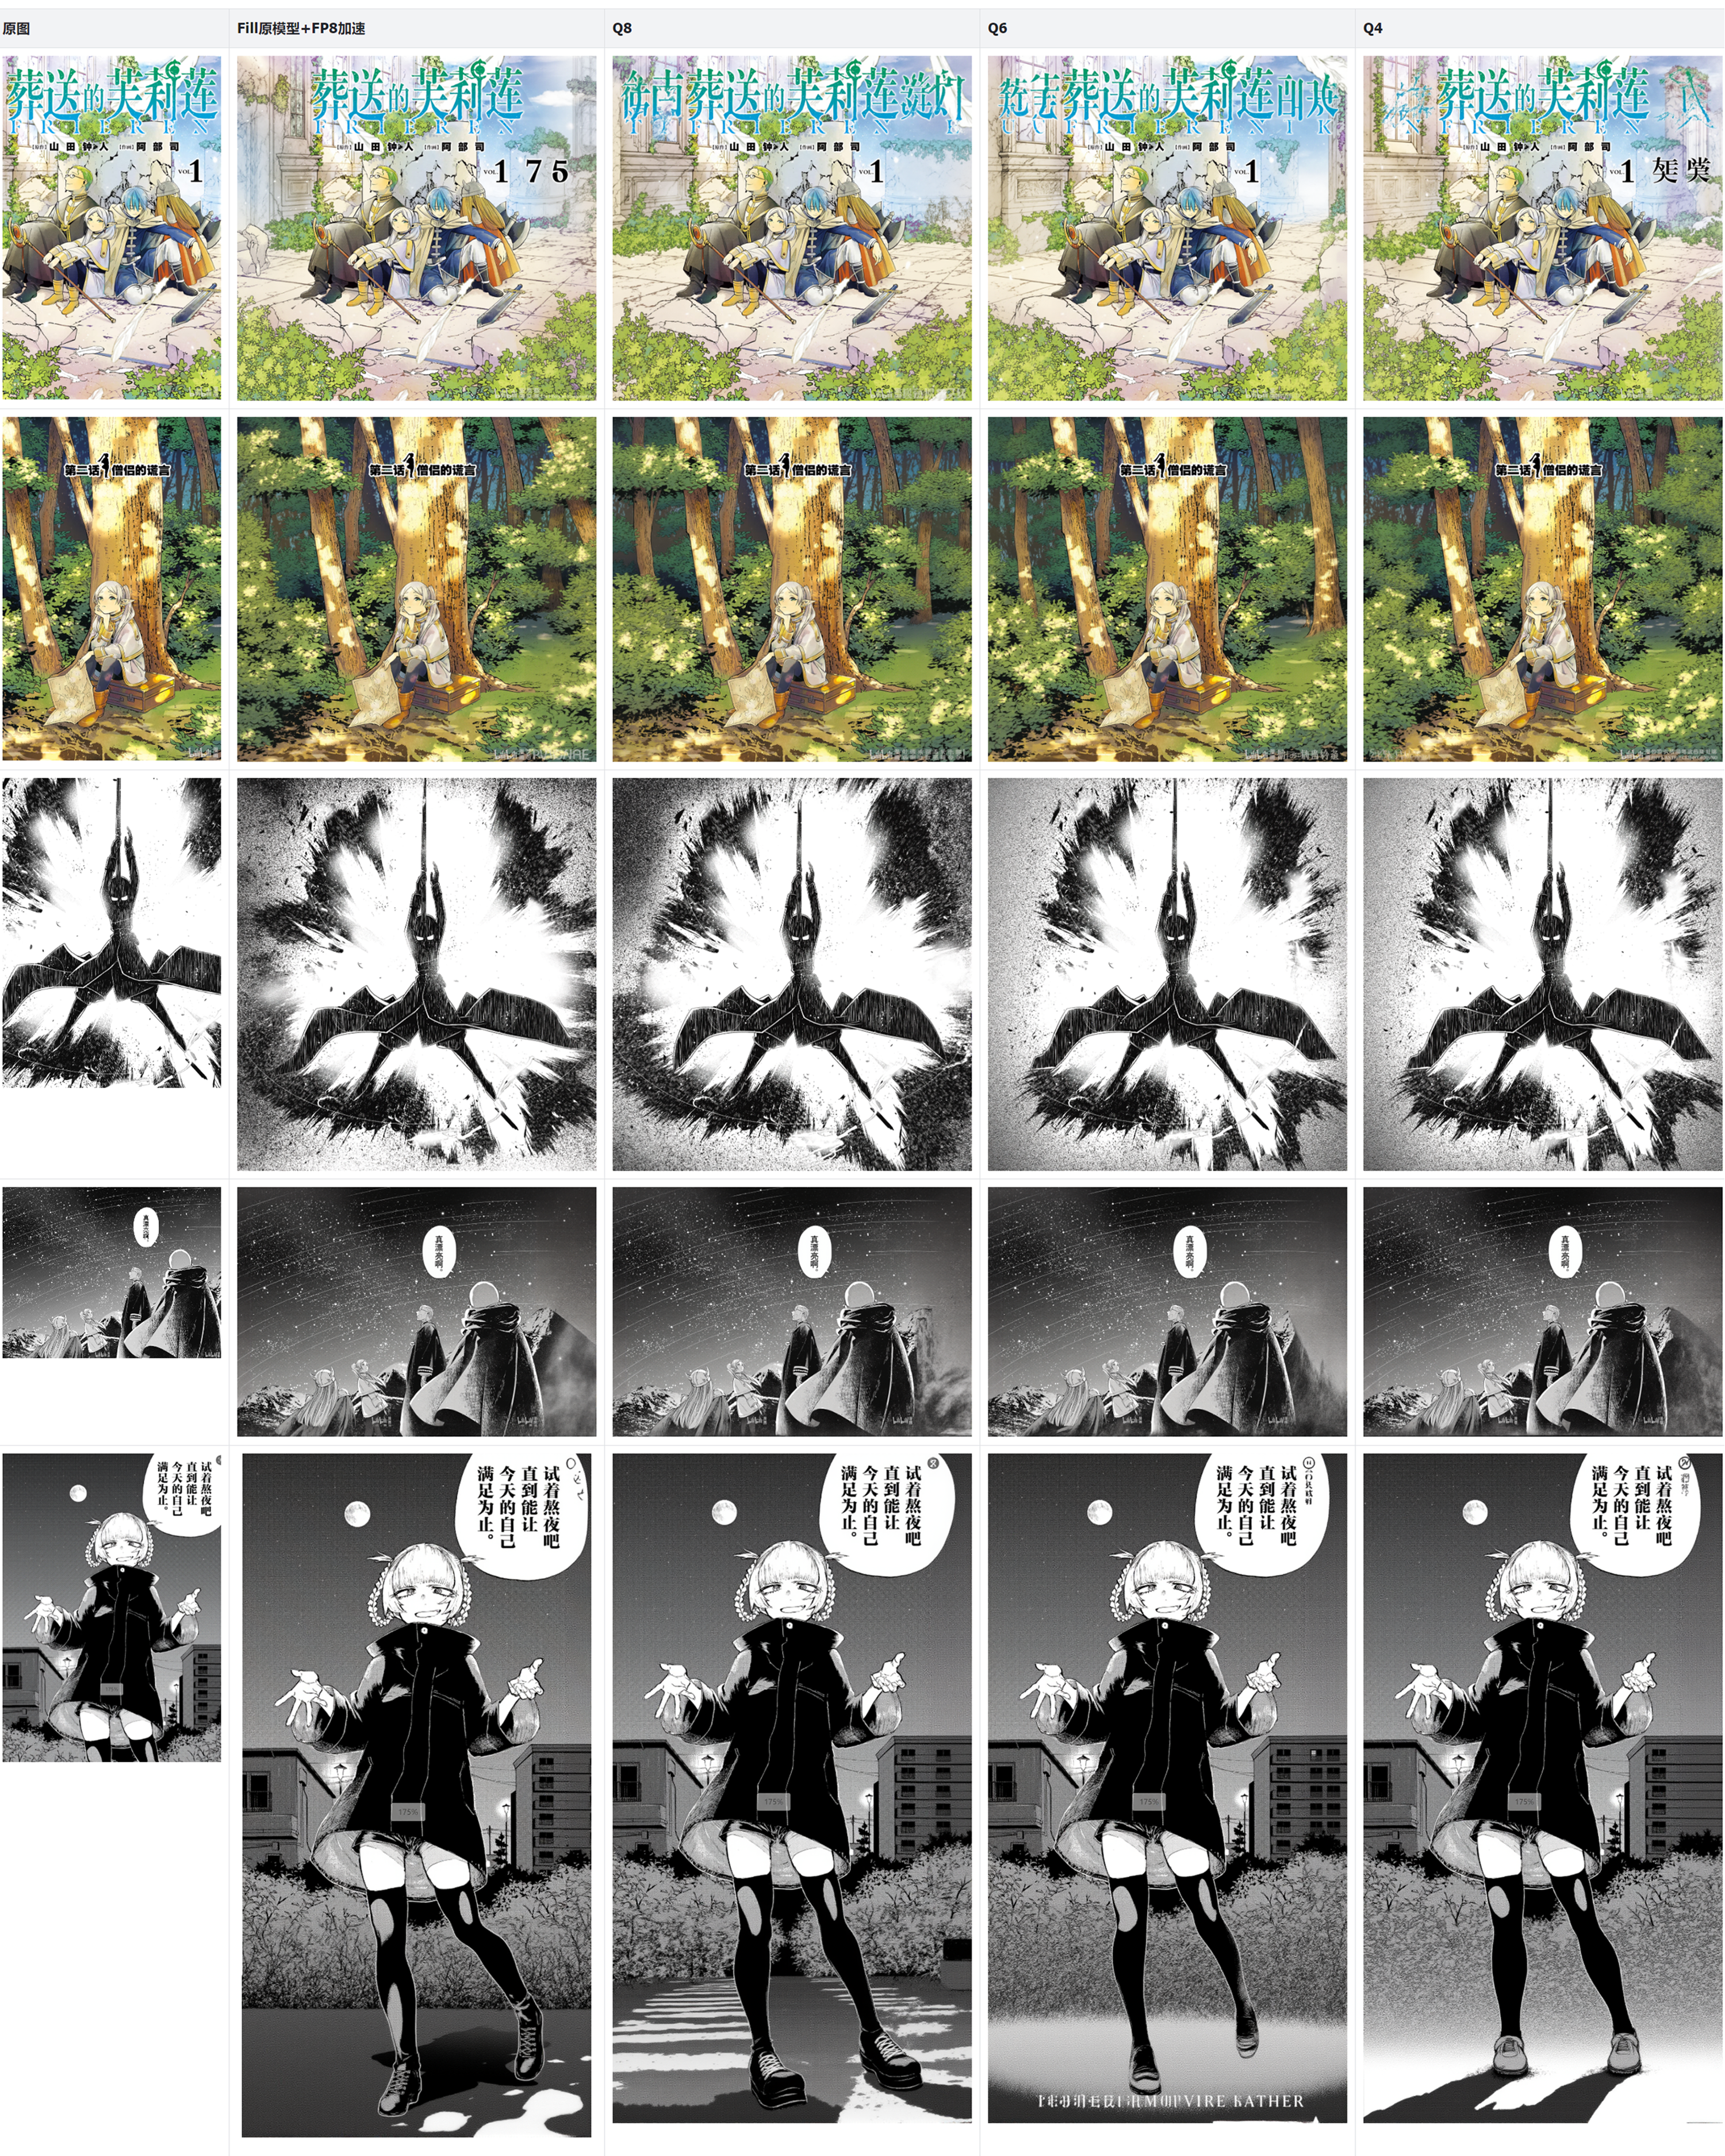
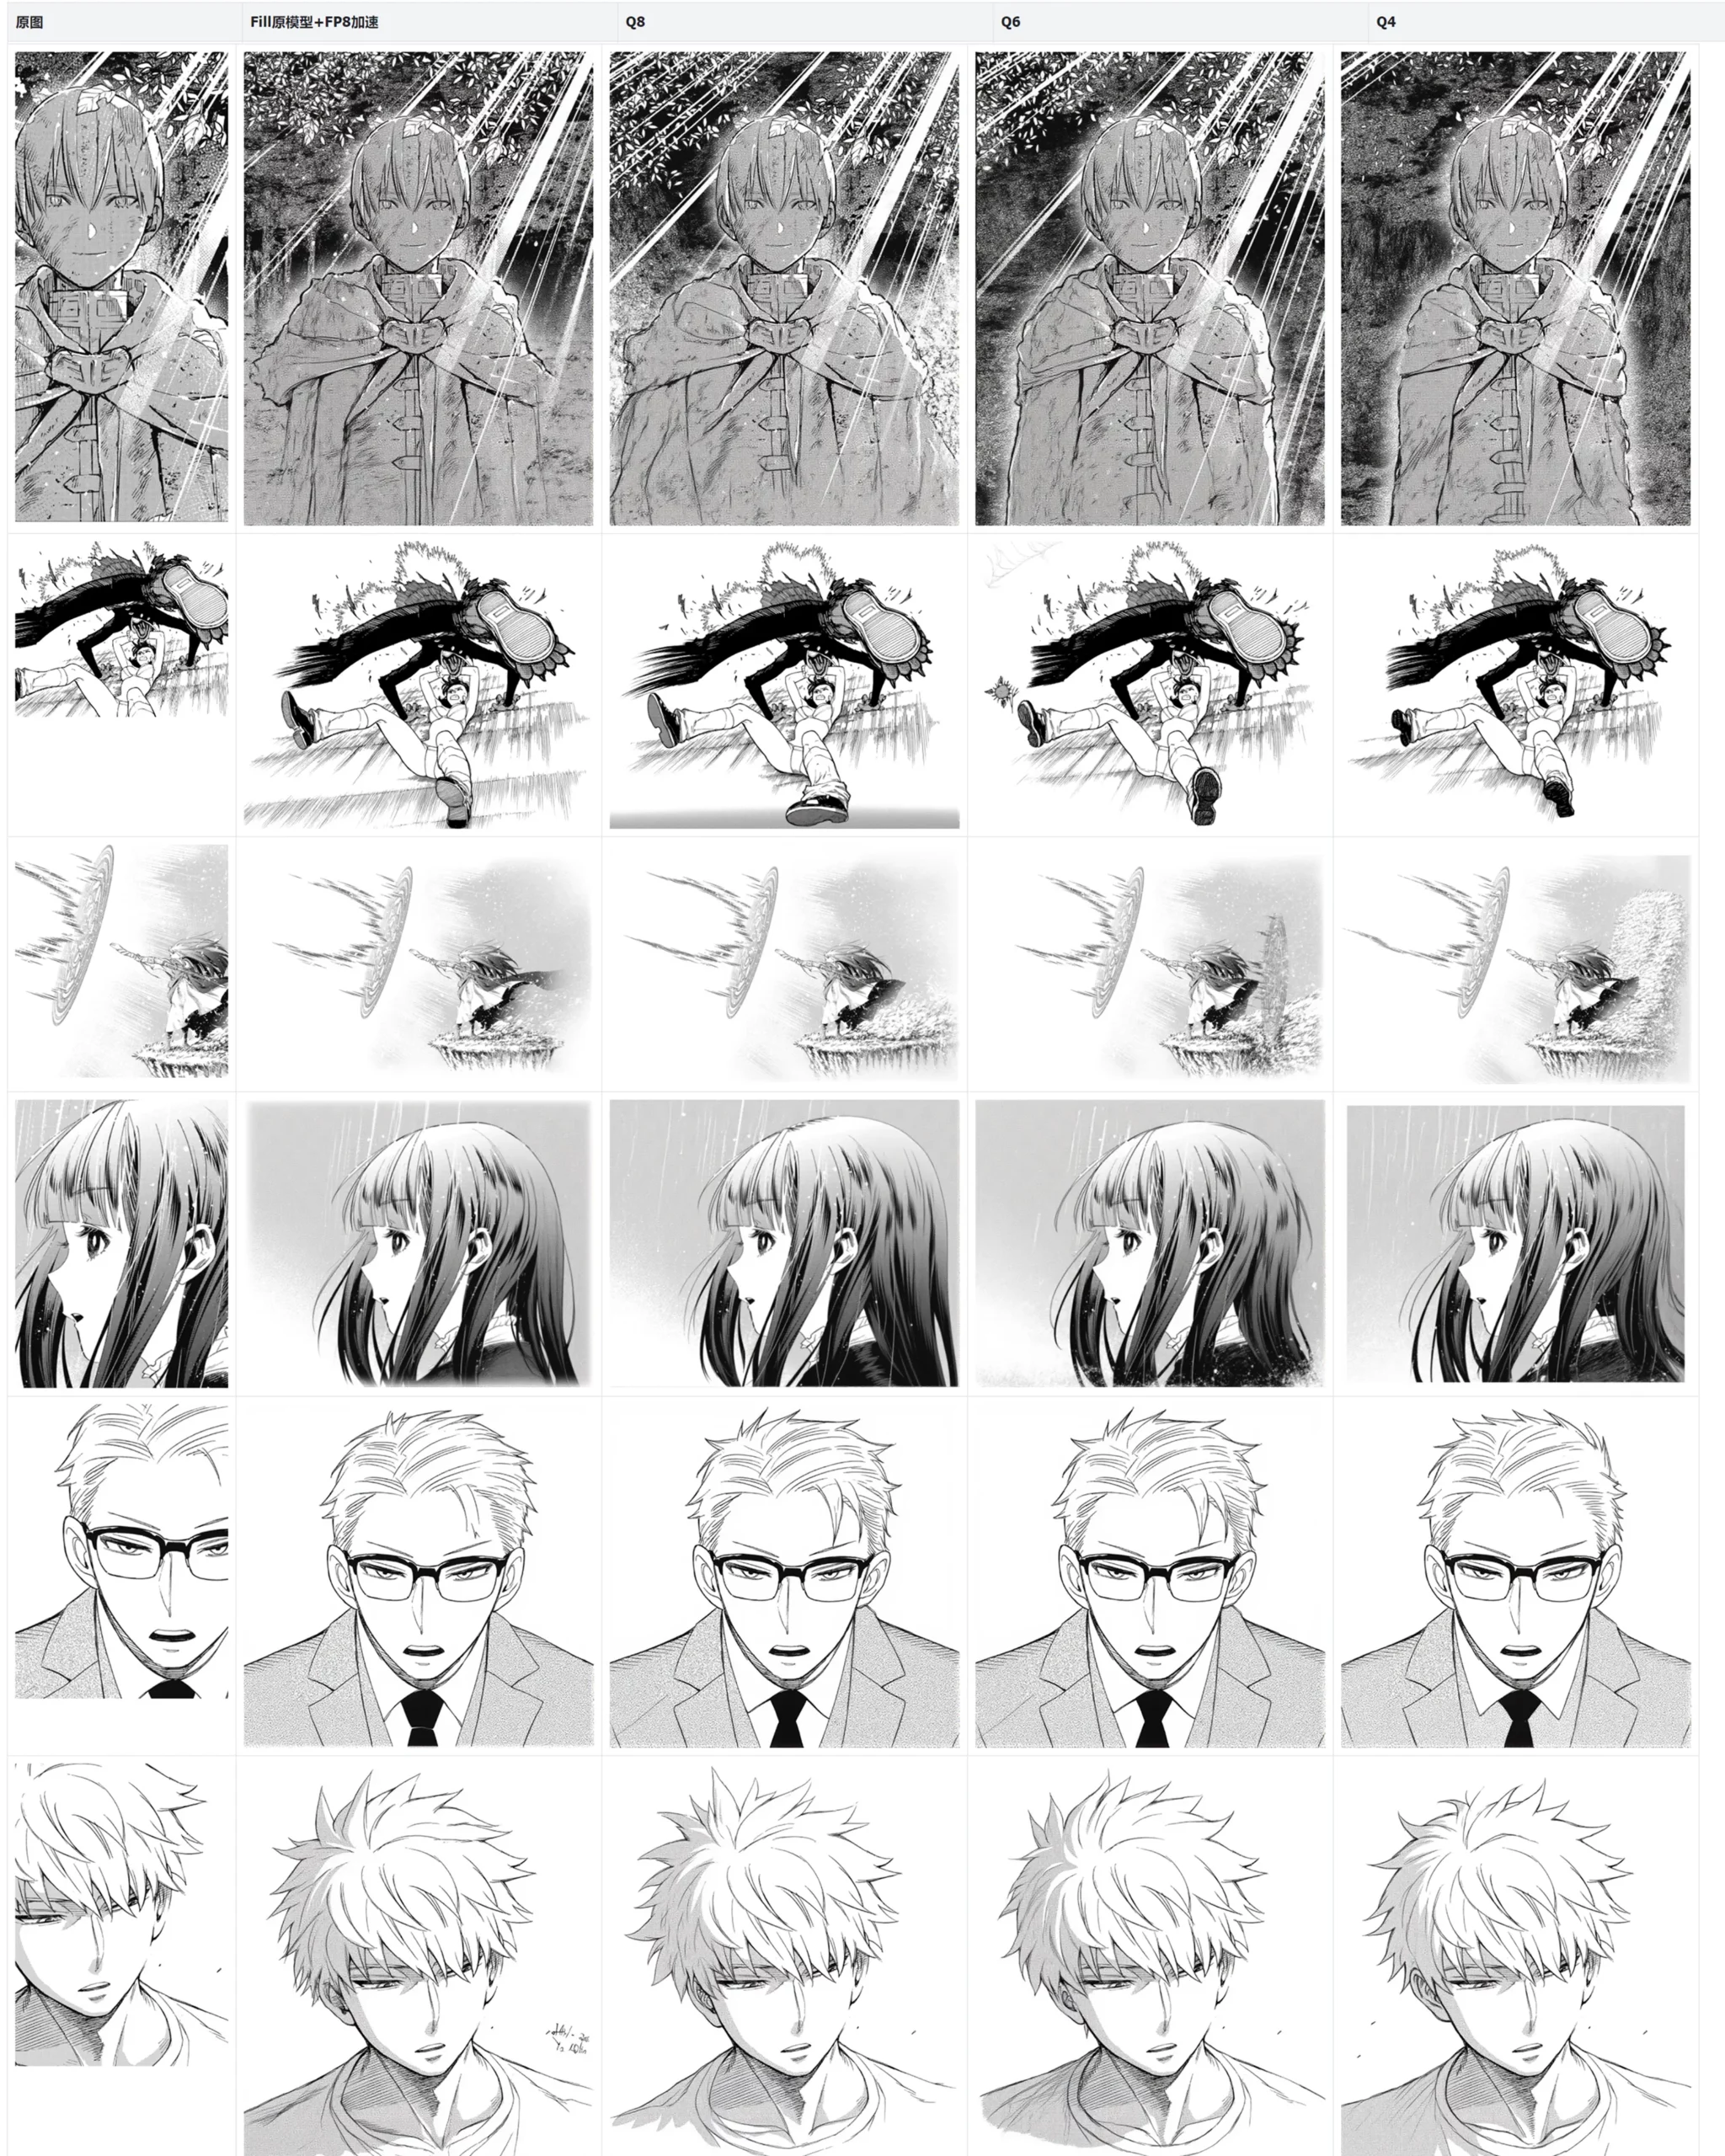
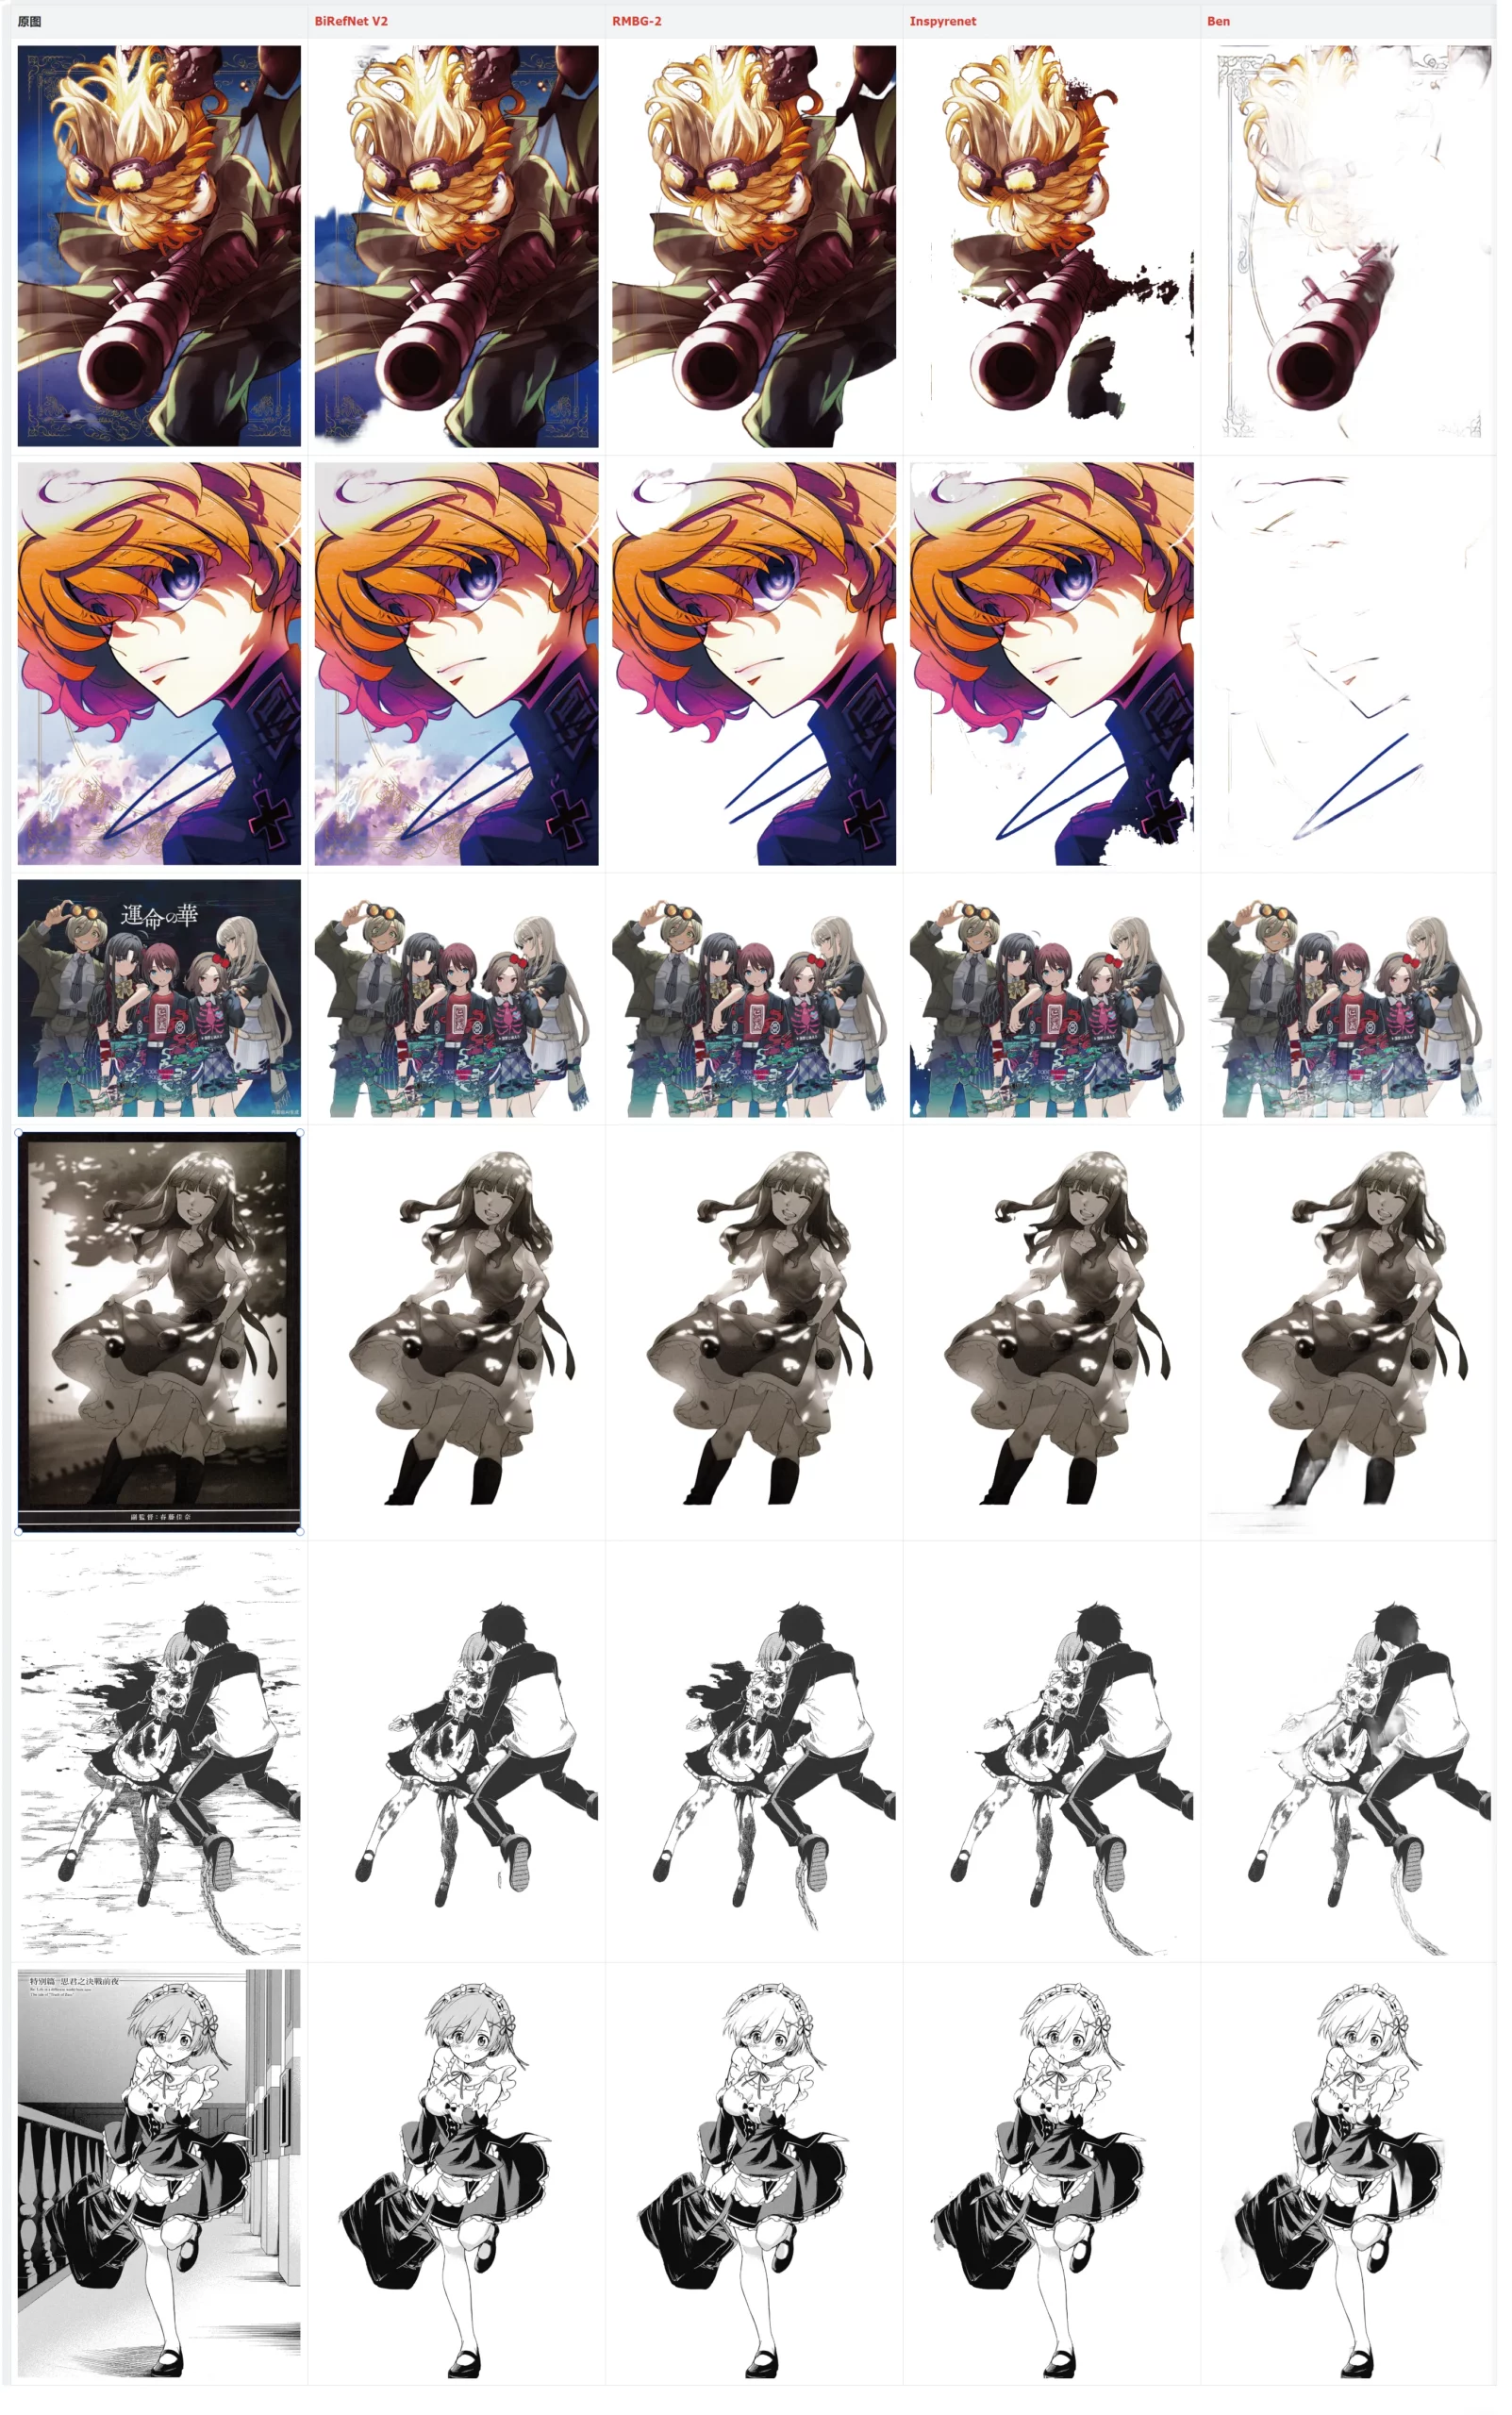
Image Masking Effect ⬇
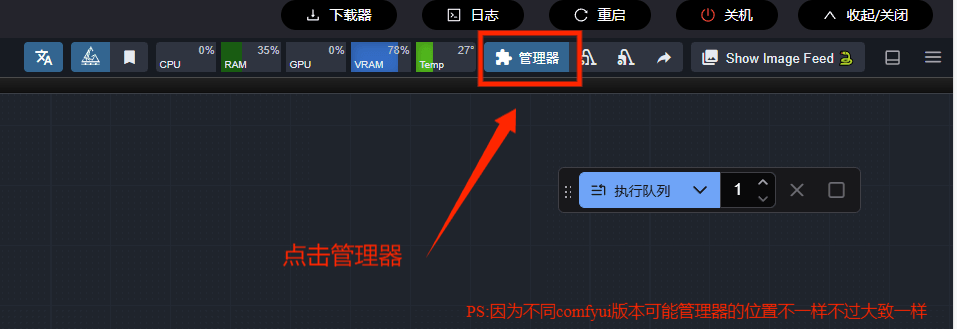
Installation Tutorial
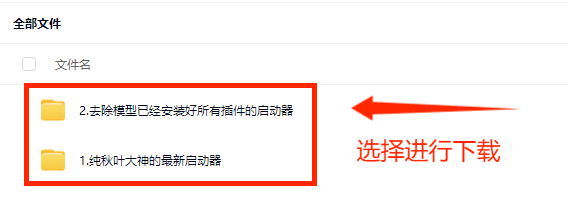
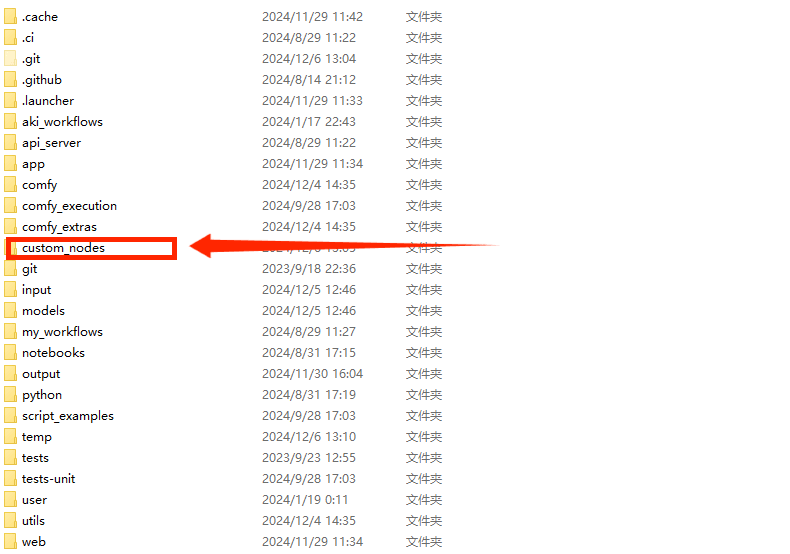
Basic Files
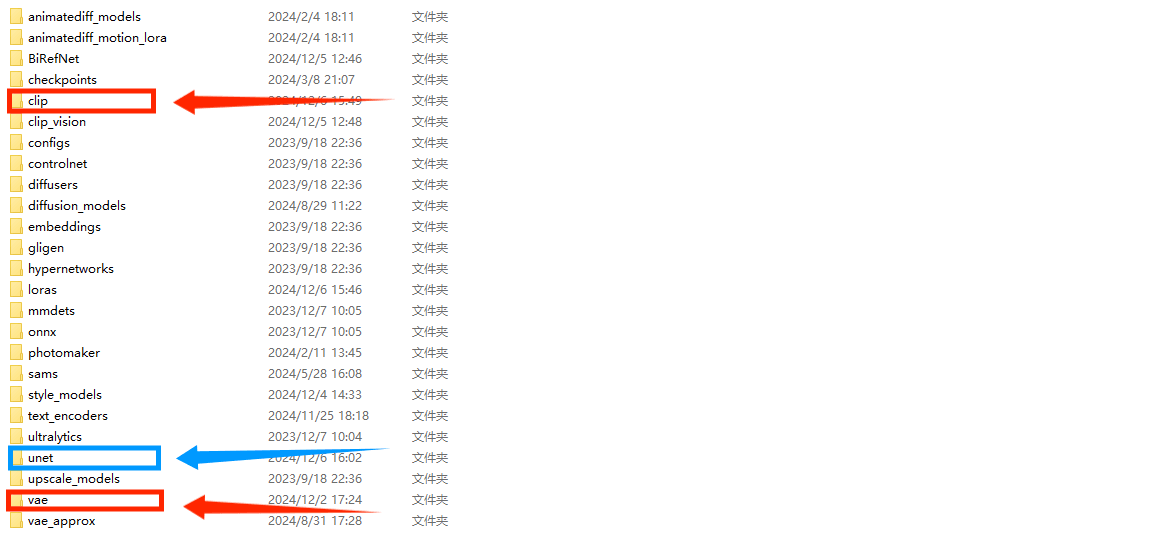
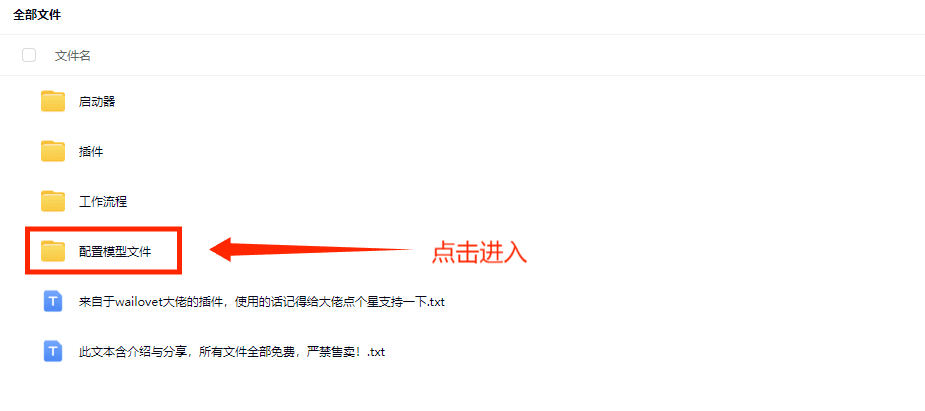
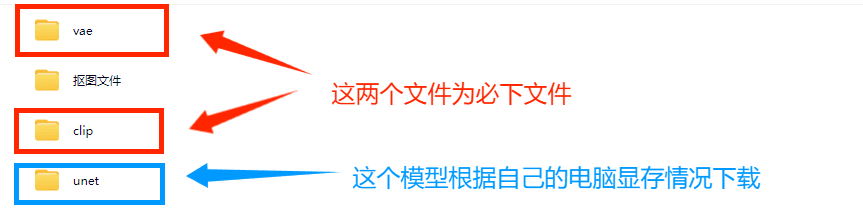
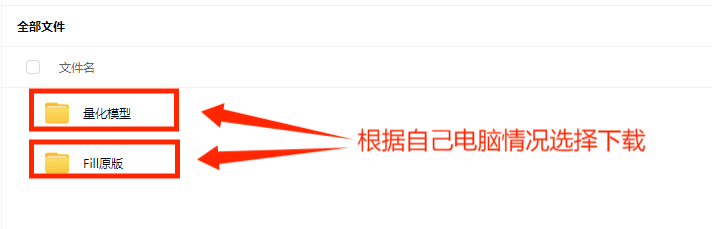
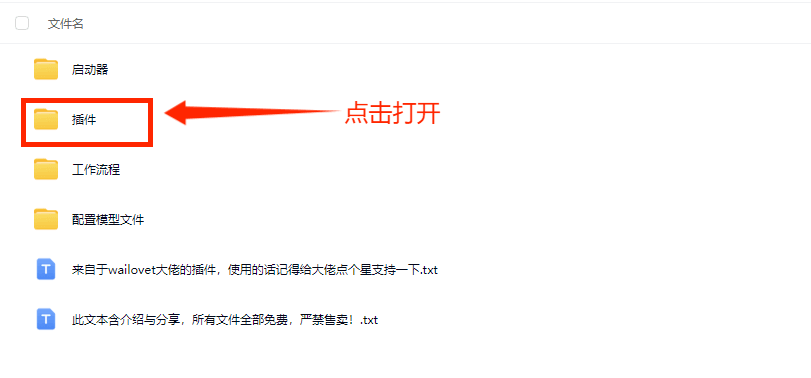
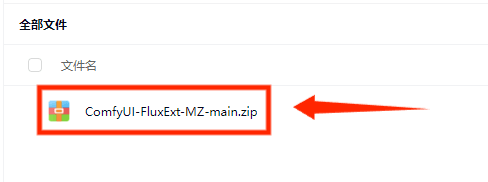
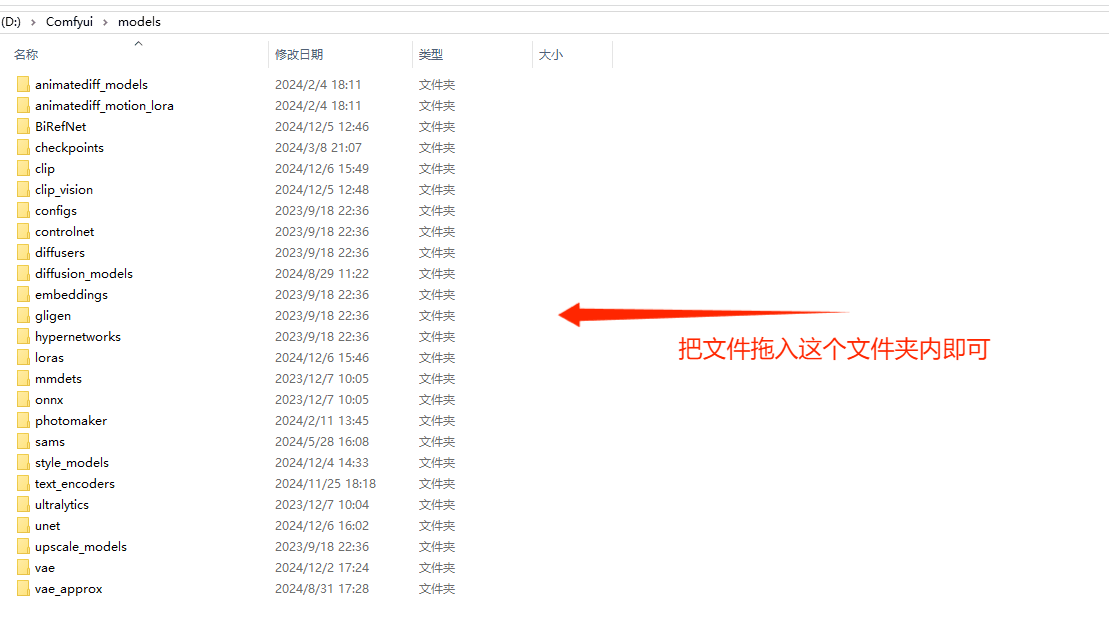
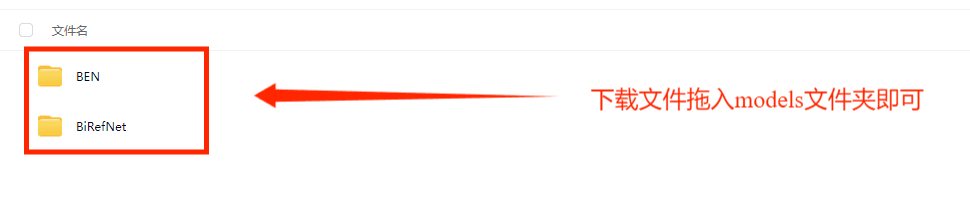
Step 1
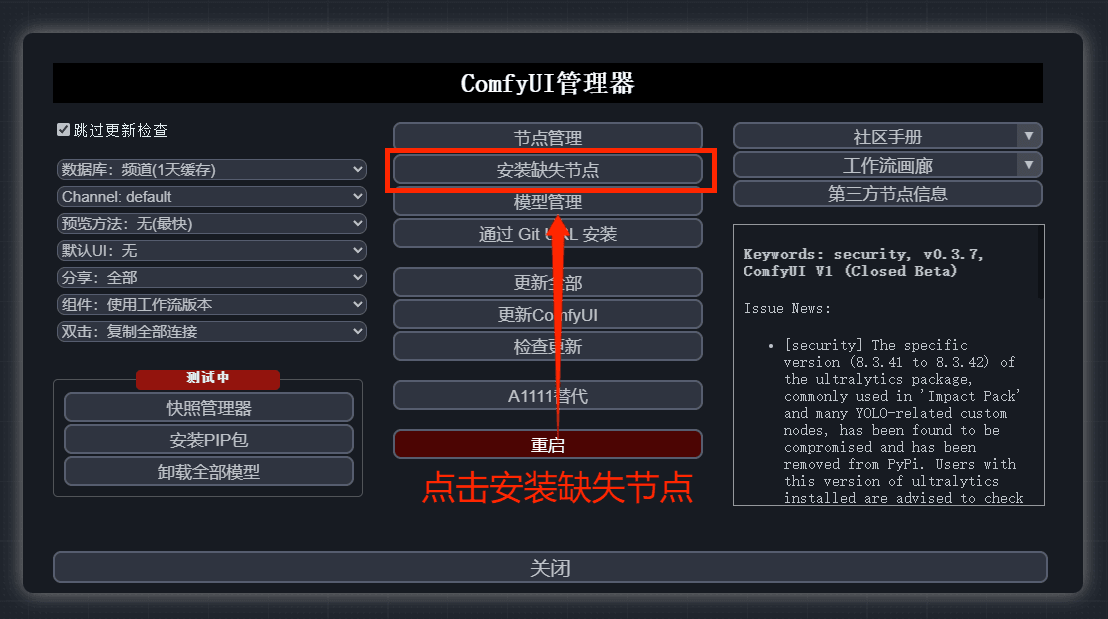
Step 2
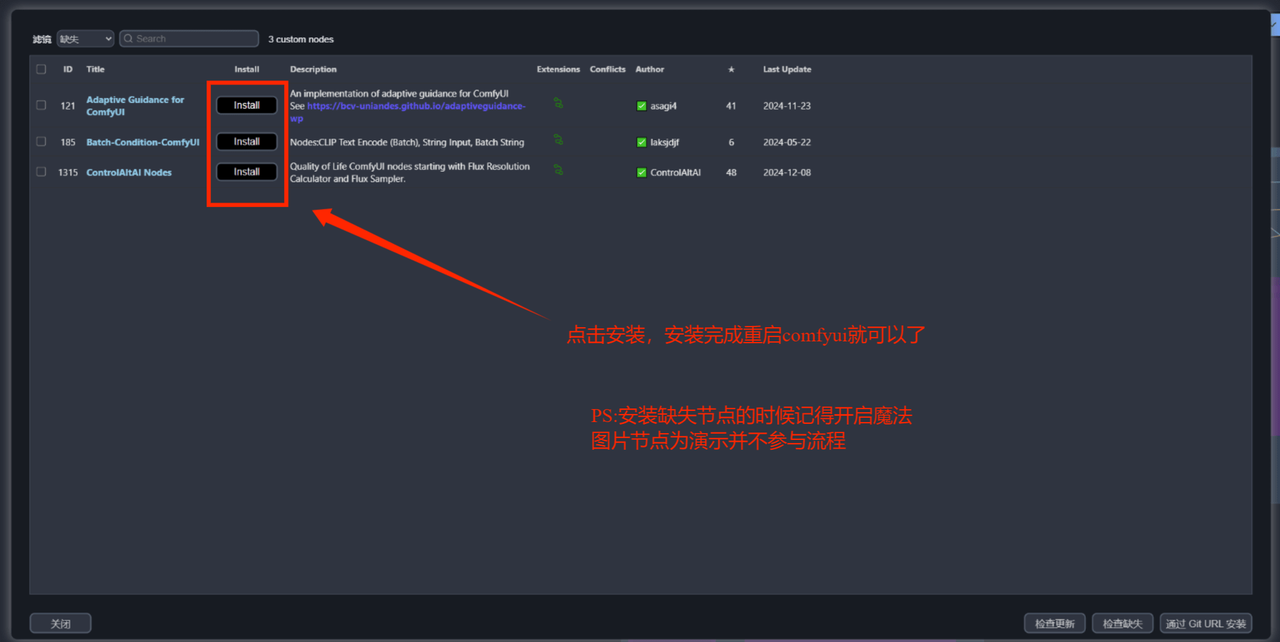
Step 3


Usage Instructions
1. Redrawing
Step 1
Masking Tips:
Old Version Masking Method ⬇
① When painting the mask:Scroll wheelControl the brush size.
② MouseLeft-click + CtrlDrag the canvas position
③Alt + Left-click.Apply the eraser mask
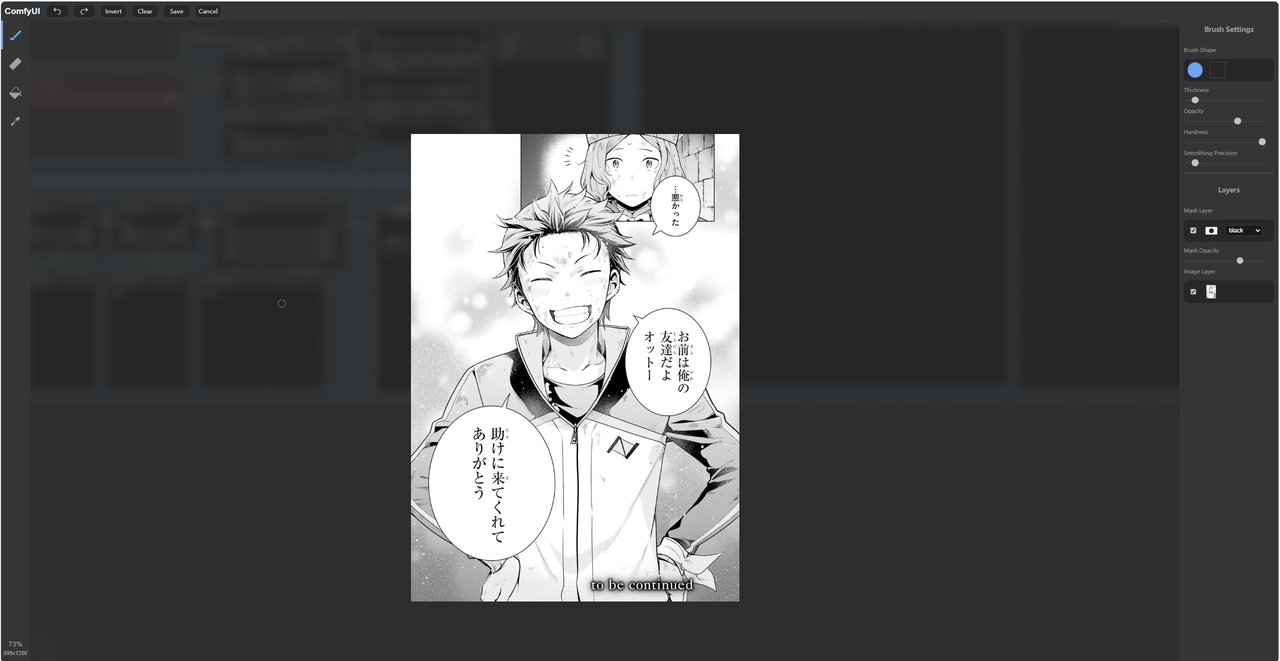
New version of mask operation method⬇
① On the left toolbar.Brush,Eraser,EyedropperandFlip the masktools to draw the mask.
② On the right side of the interface, there are*detailed parameter adjustments*, similar to the PS interface.
*The new version of ComfyUI has a better user interface. It's recommended to try adjusting it yourself or watch video tutorials.
Step 2
Step 3
Step 4
2. Image Upscaling
Step 1
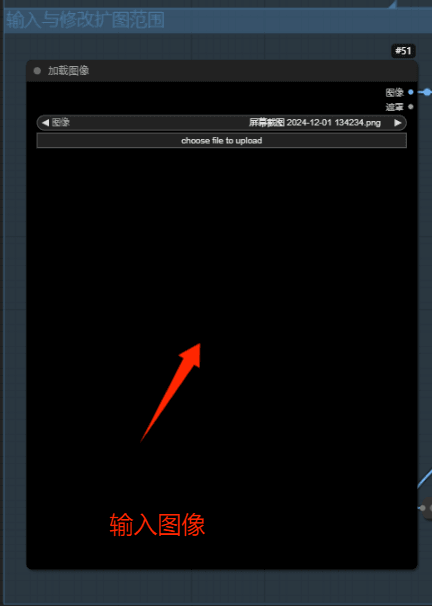
Step 2
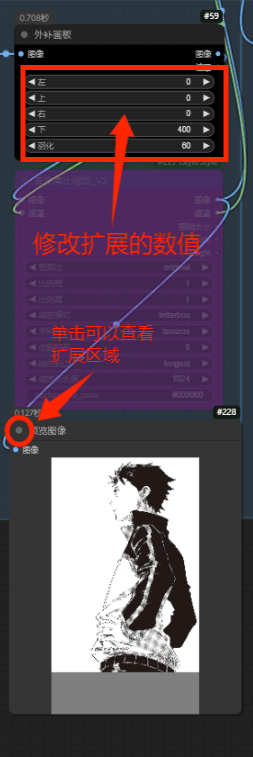
Step 3
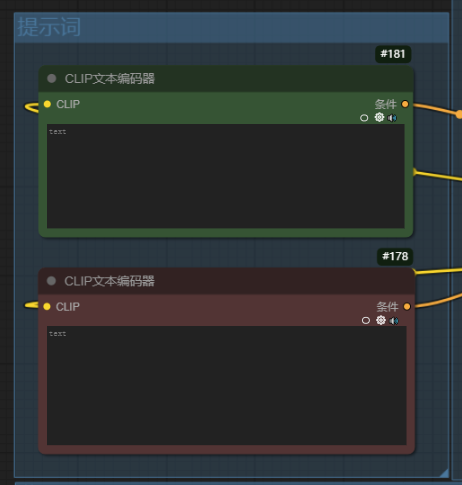
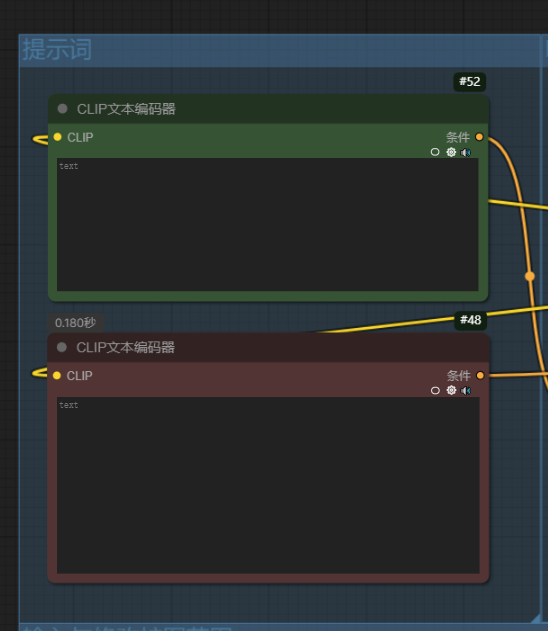
Write appropriate prompt words (you can leave it empty for the model to understand on its own, or provide your own expansion ideas, or use reverse query plugins in combination).
Step 4
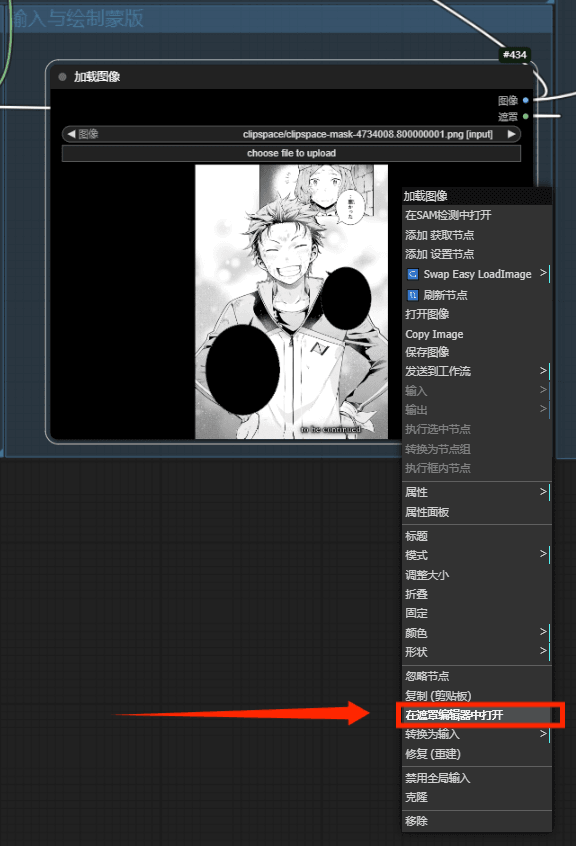
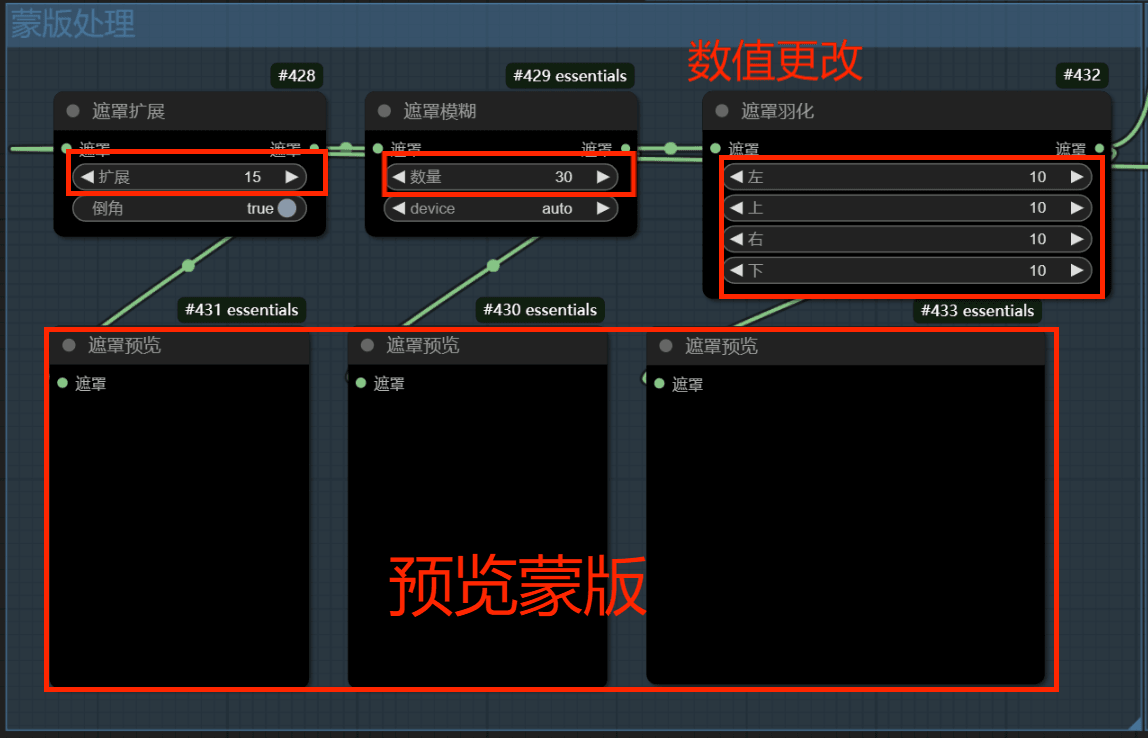
3. Image Masking
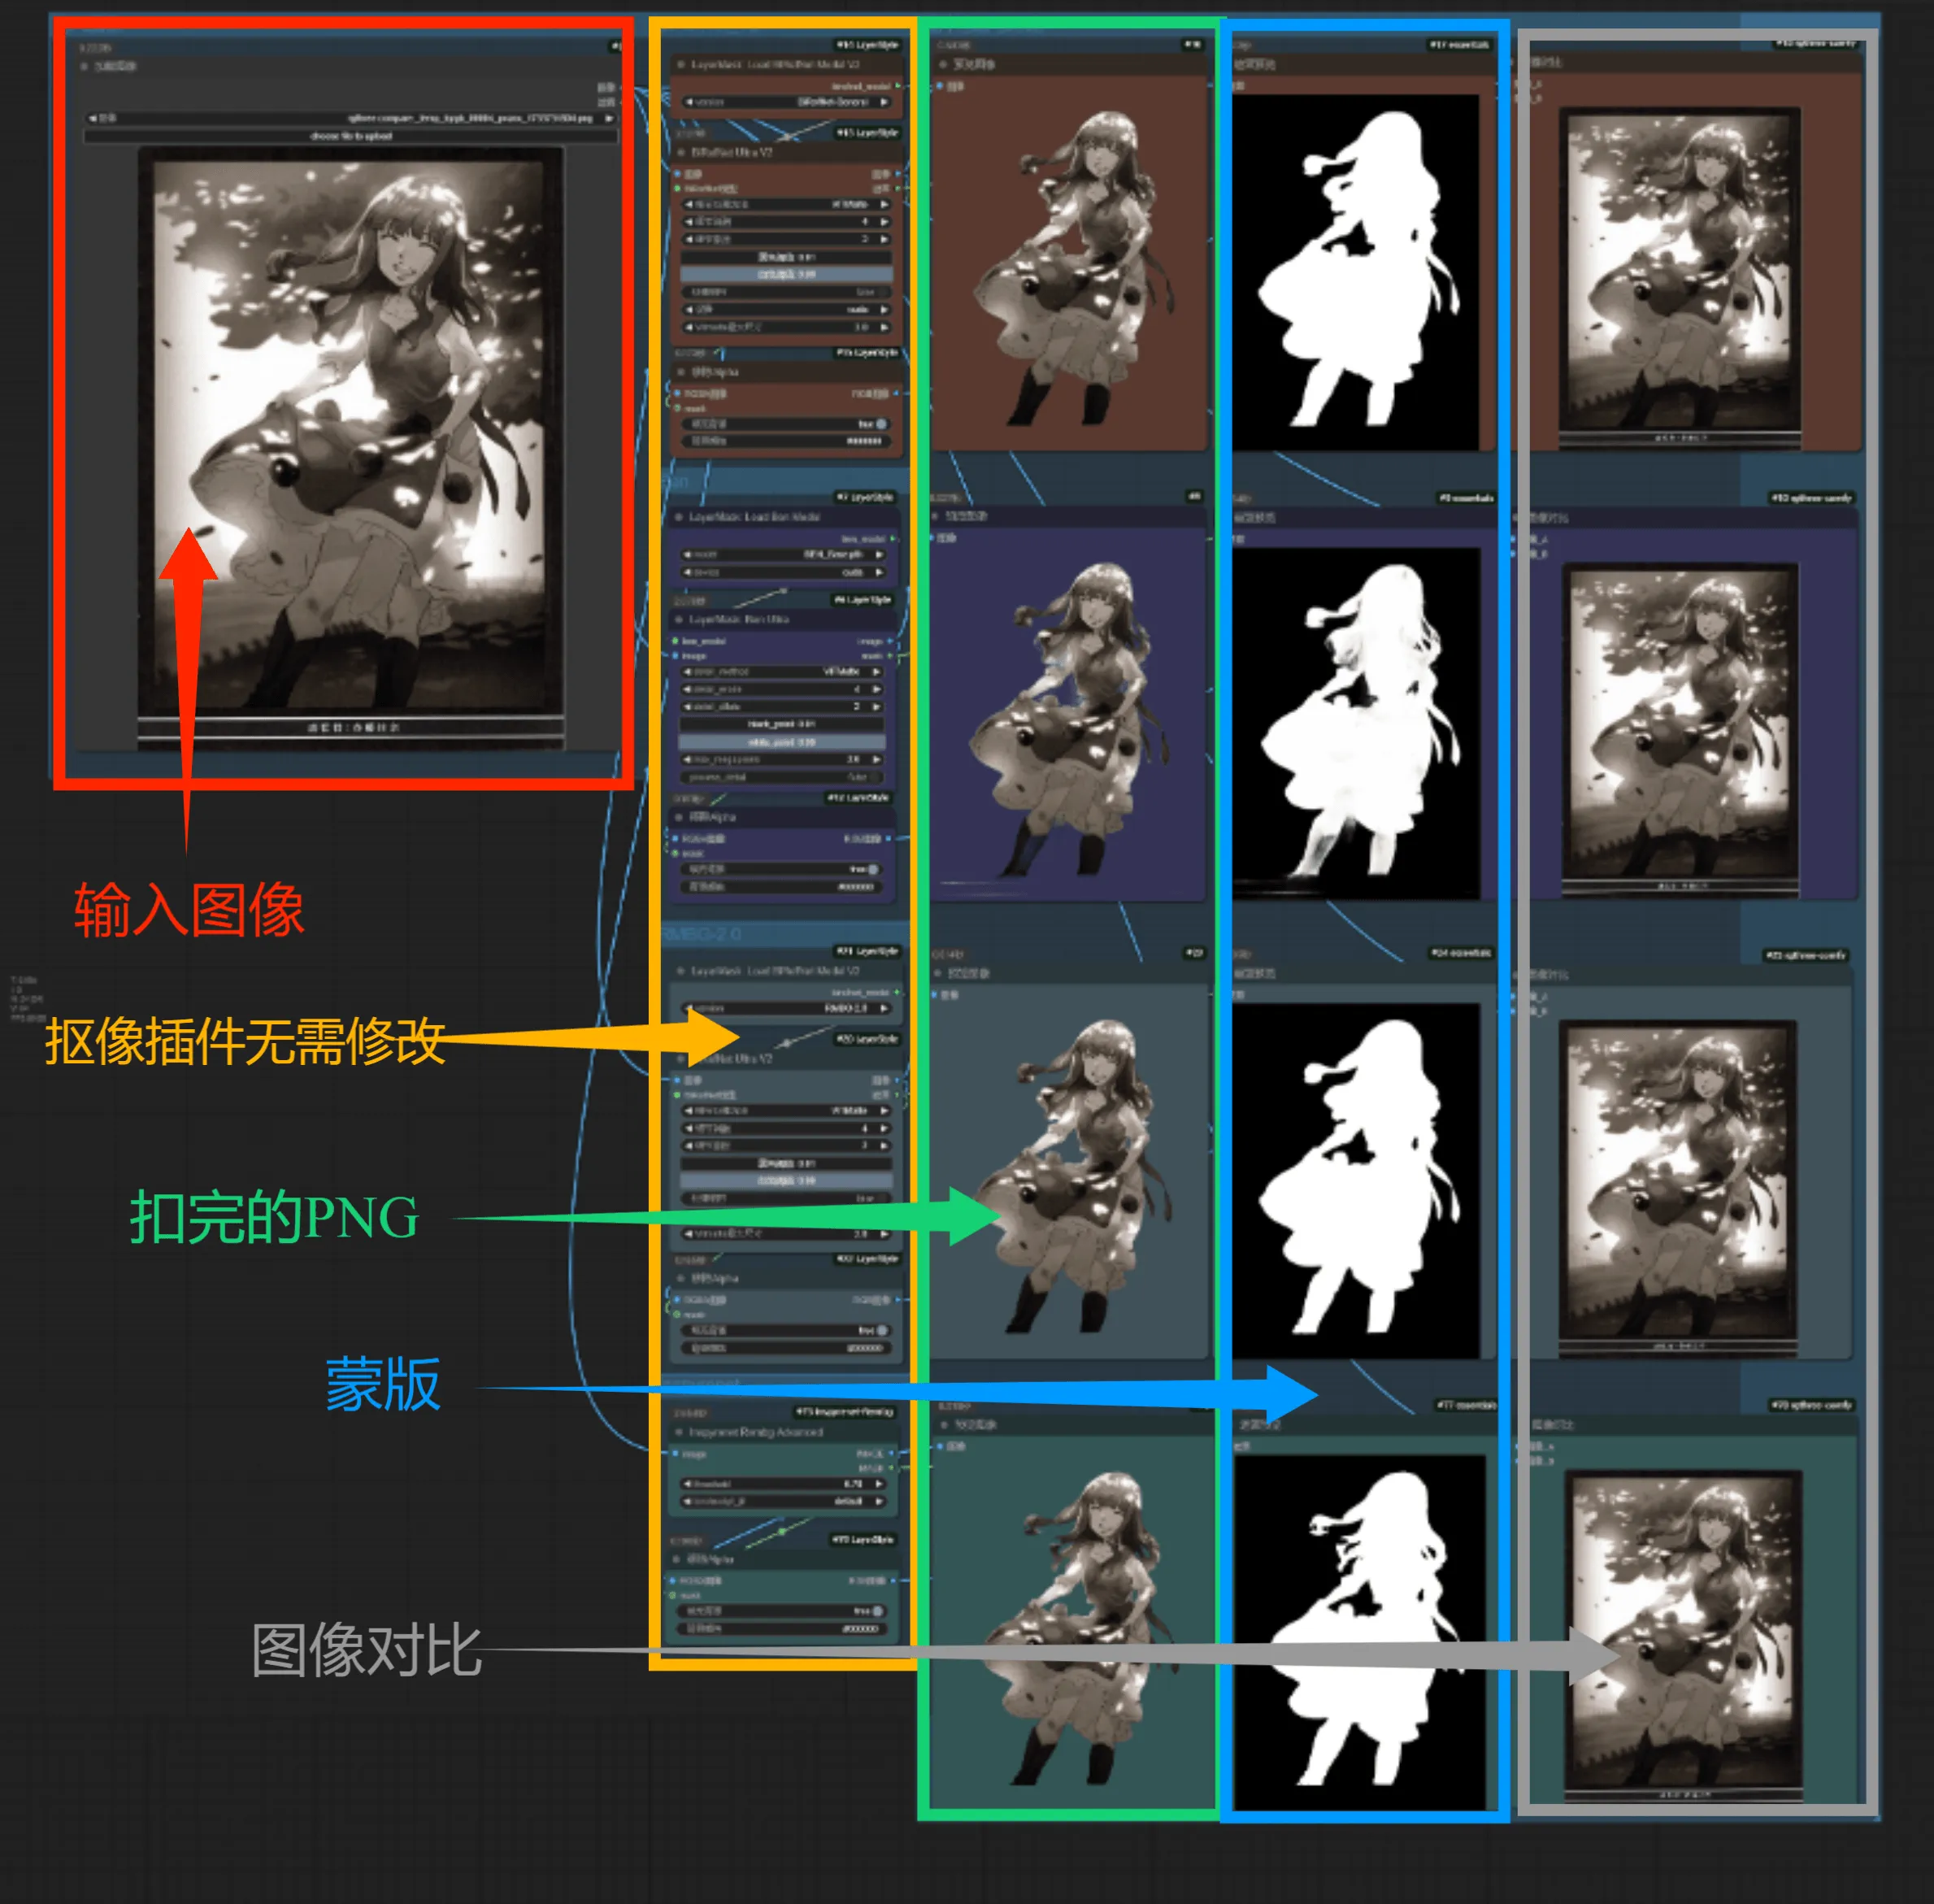
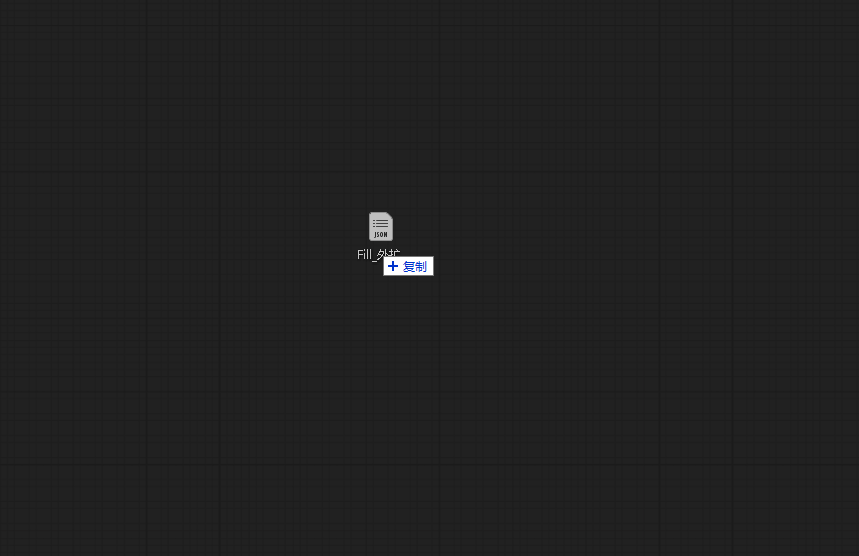
Step 1
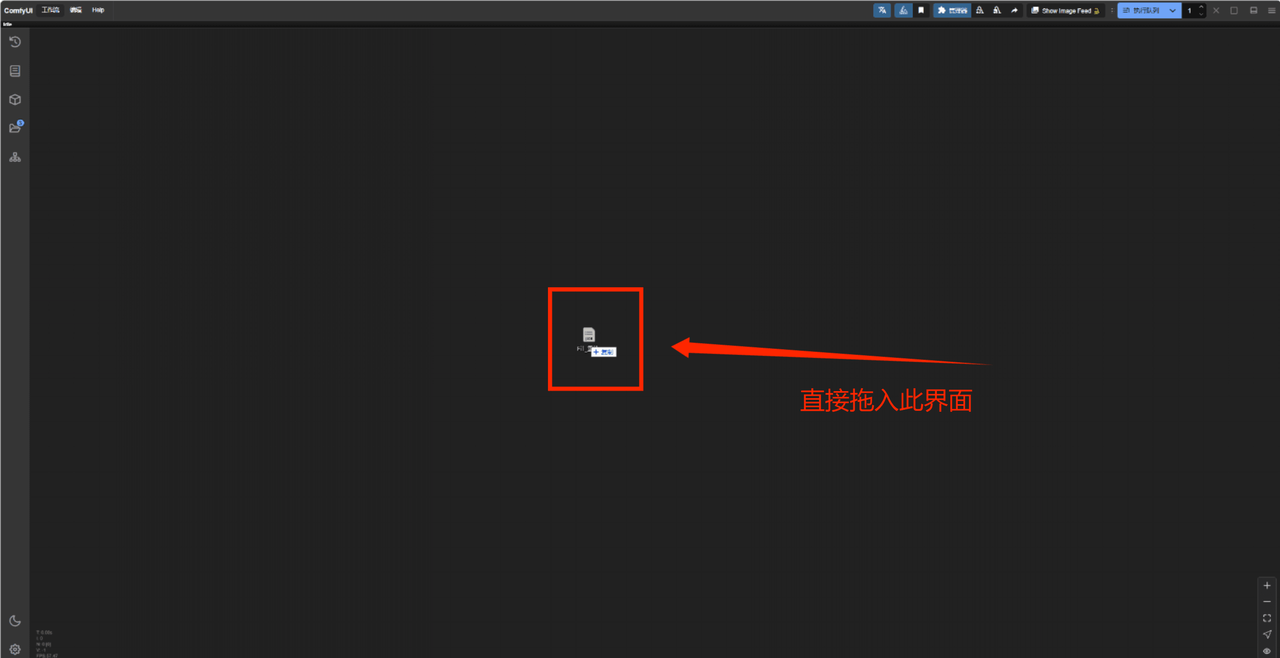
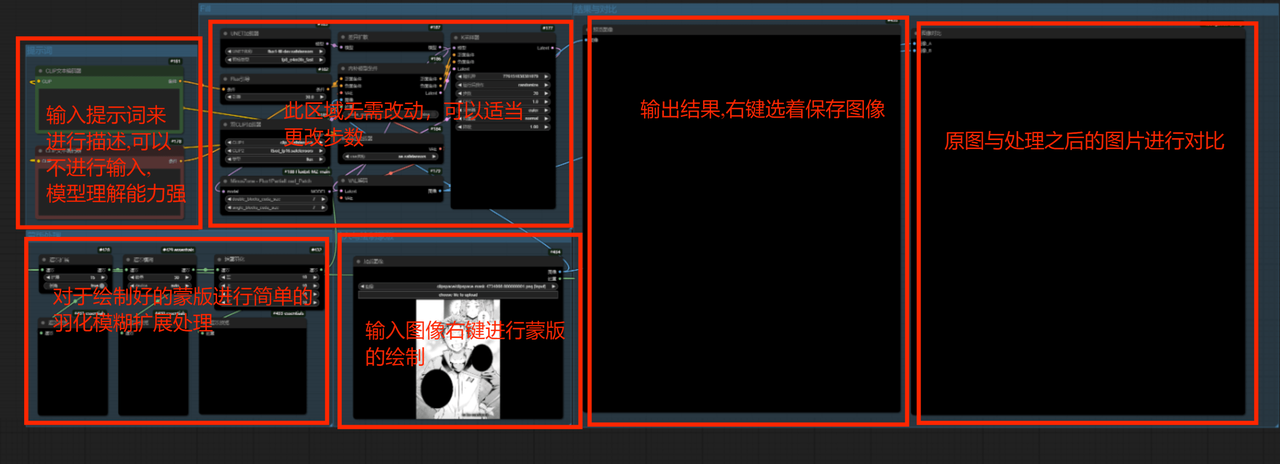
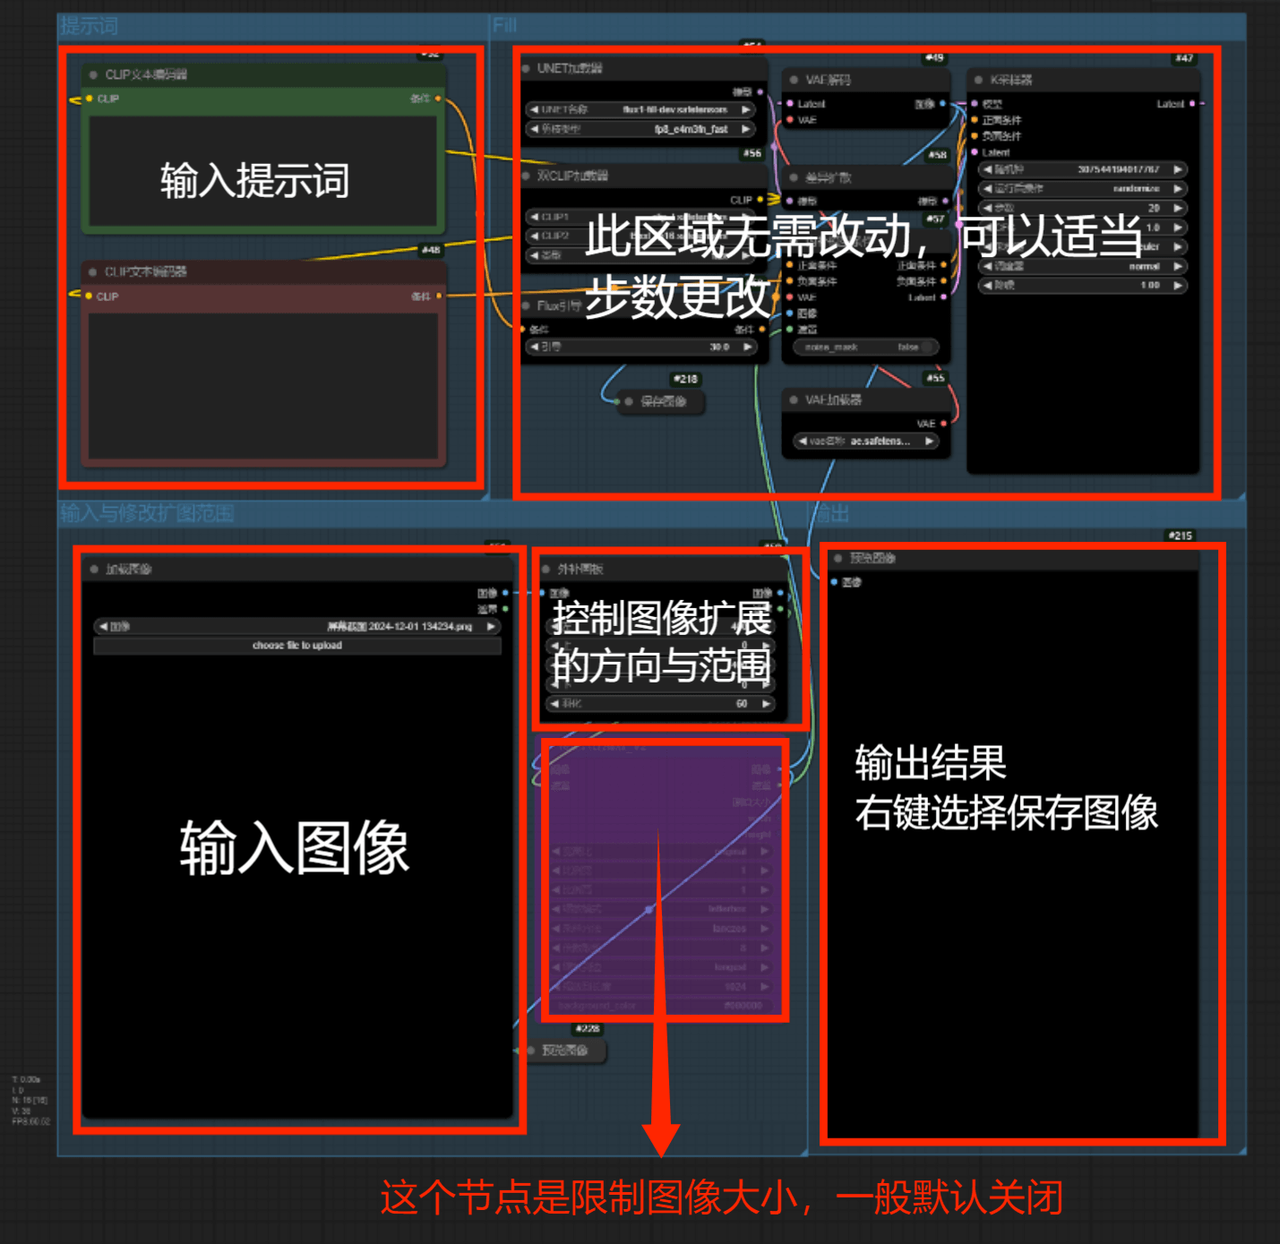
Open the Drawing World launcher and run it. When the workspace interface pops up, drag the workflow file (json file) into the interface. Afterward, you will see the following workflow. PS: The text and boxes are for prompt descriptions and process thumbnails.
Step 2
Step 3
Conclusion

 京公网安备11011502038441号


